Build Session 3

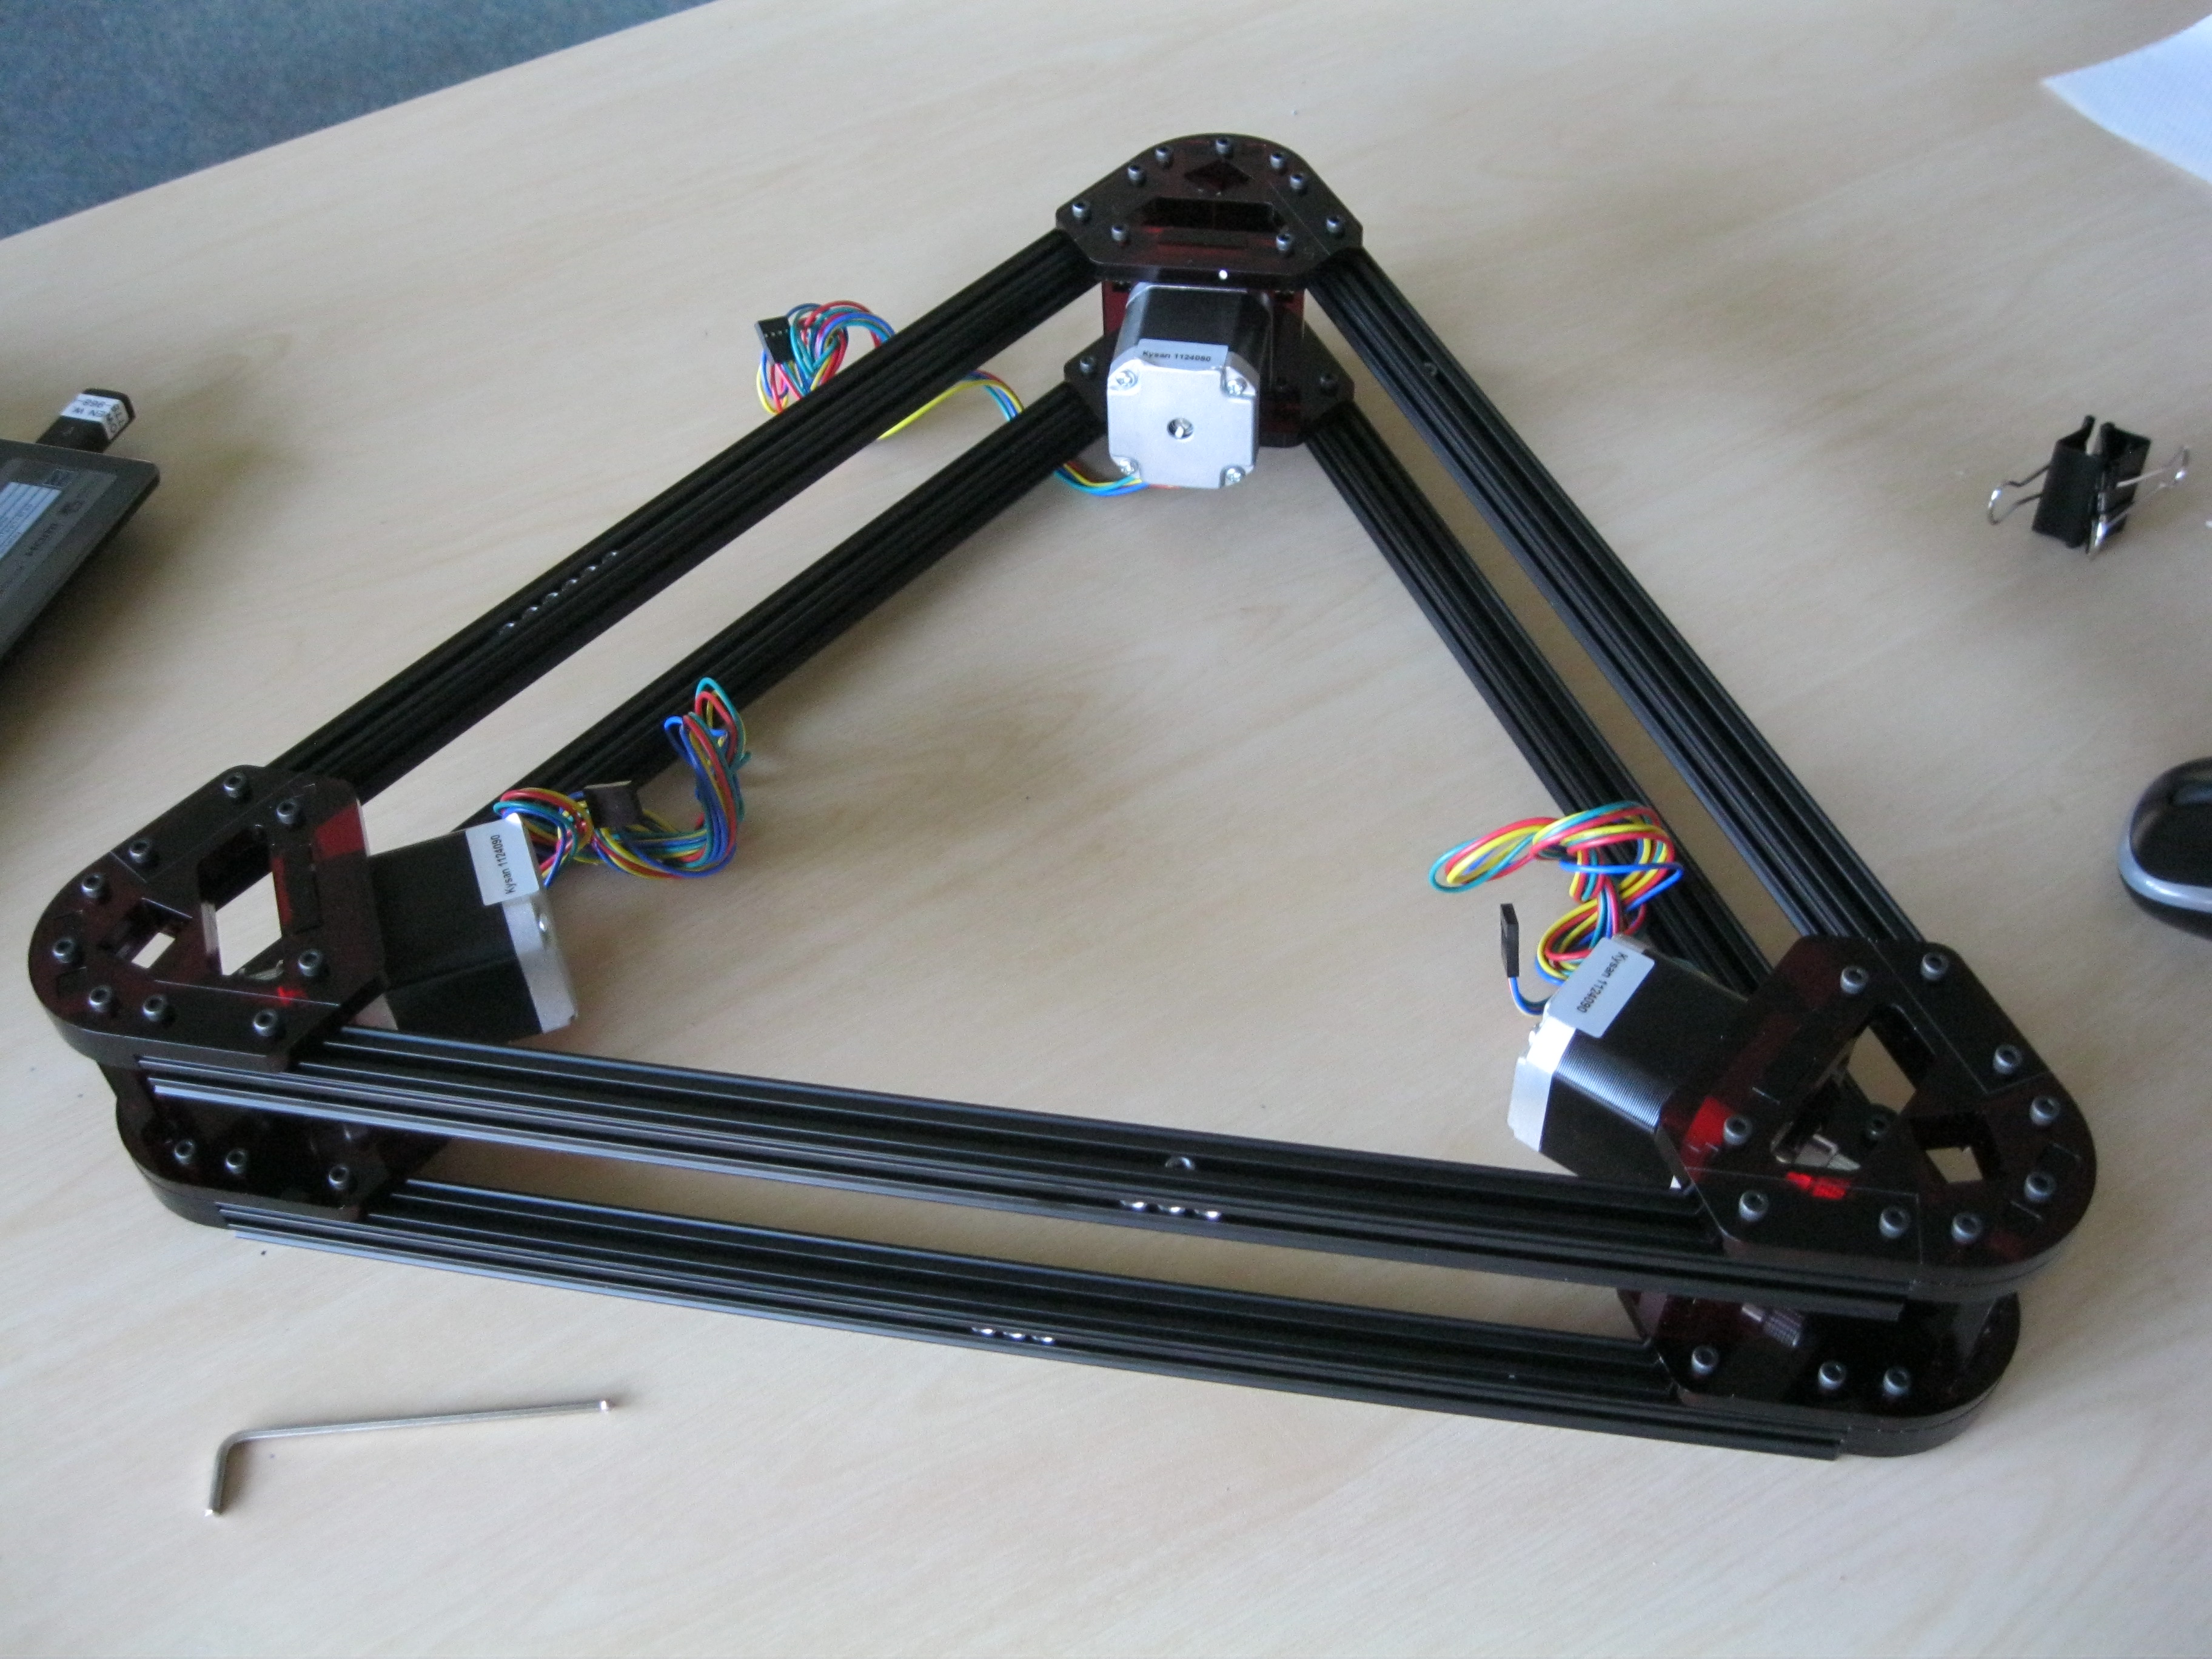
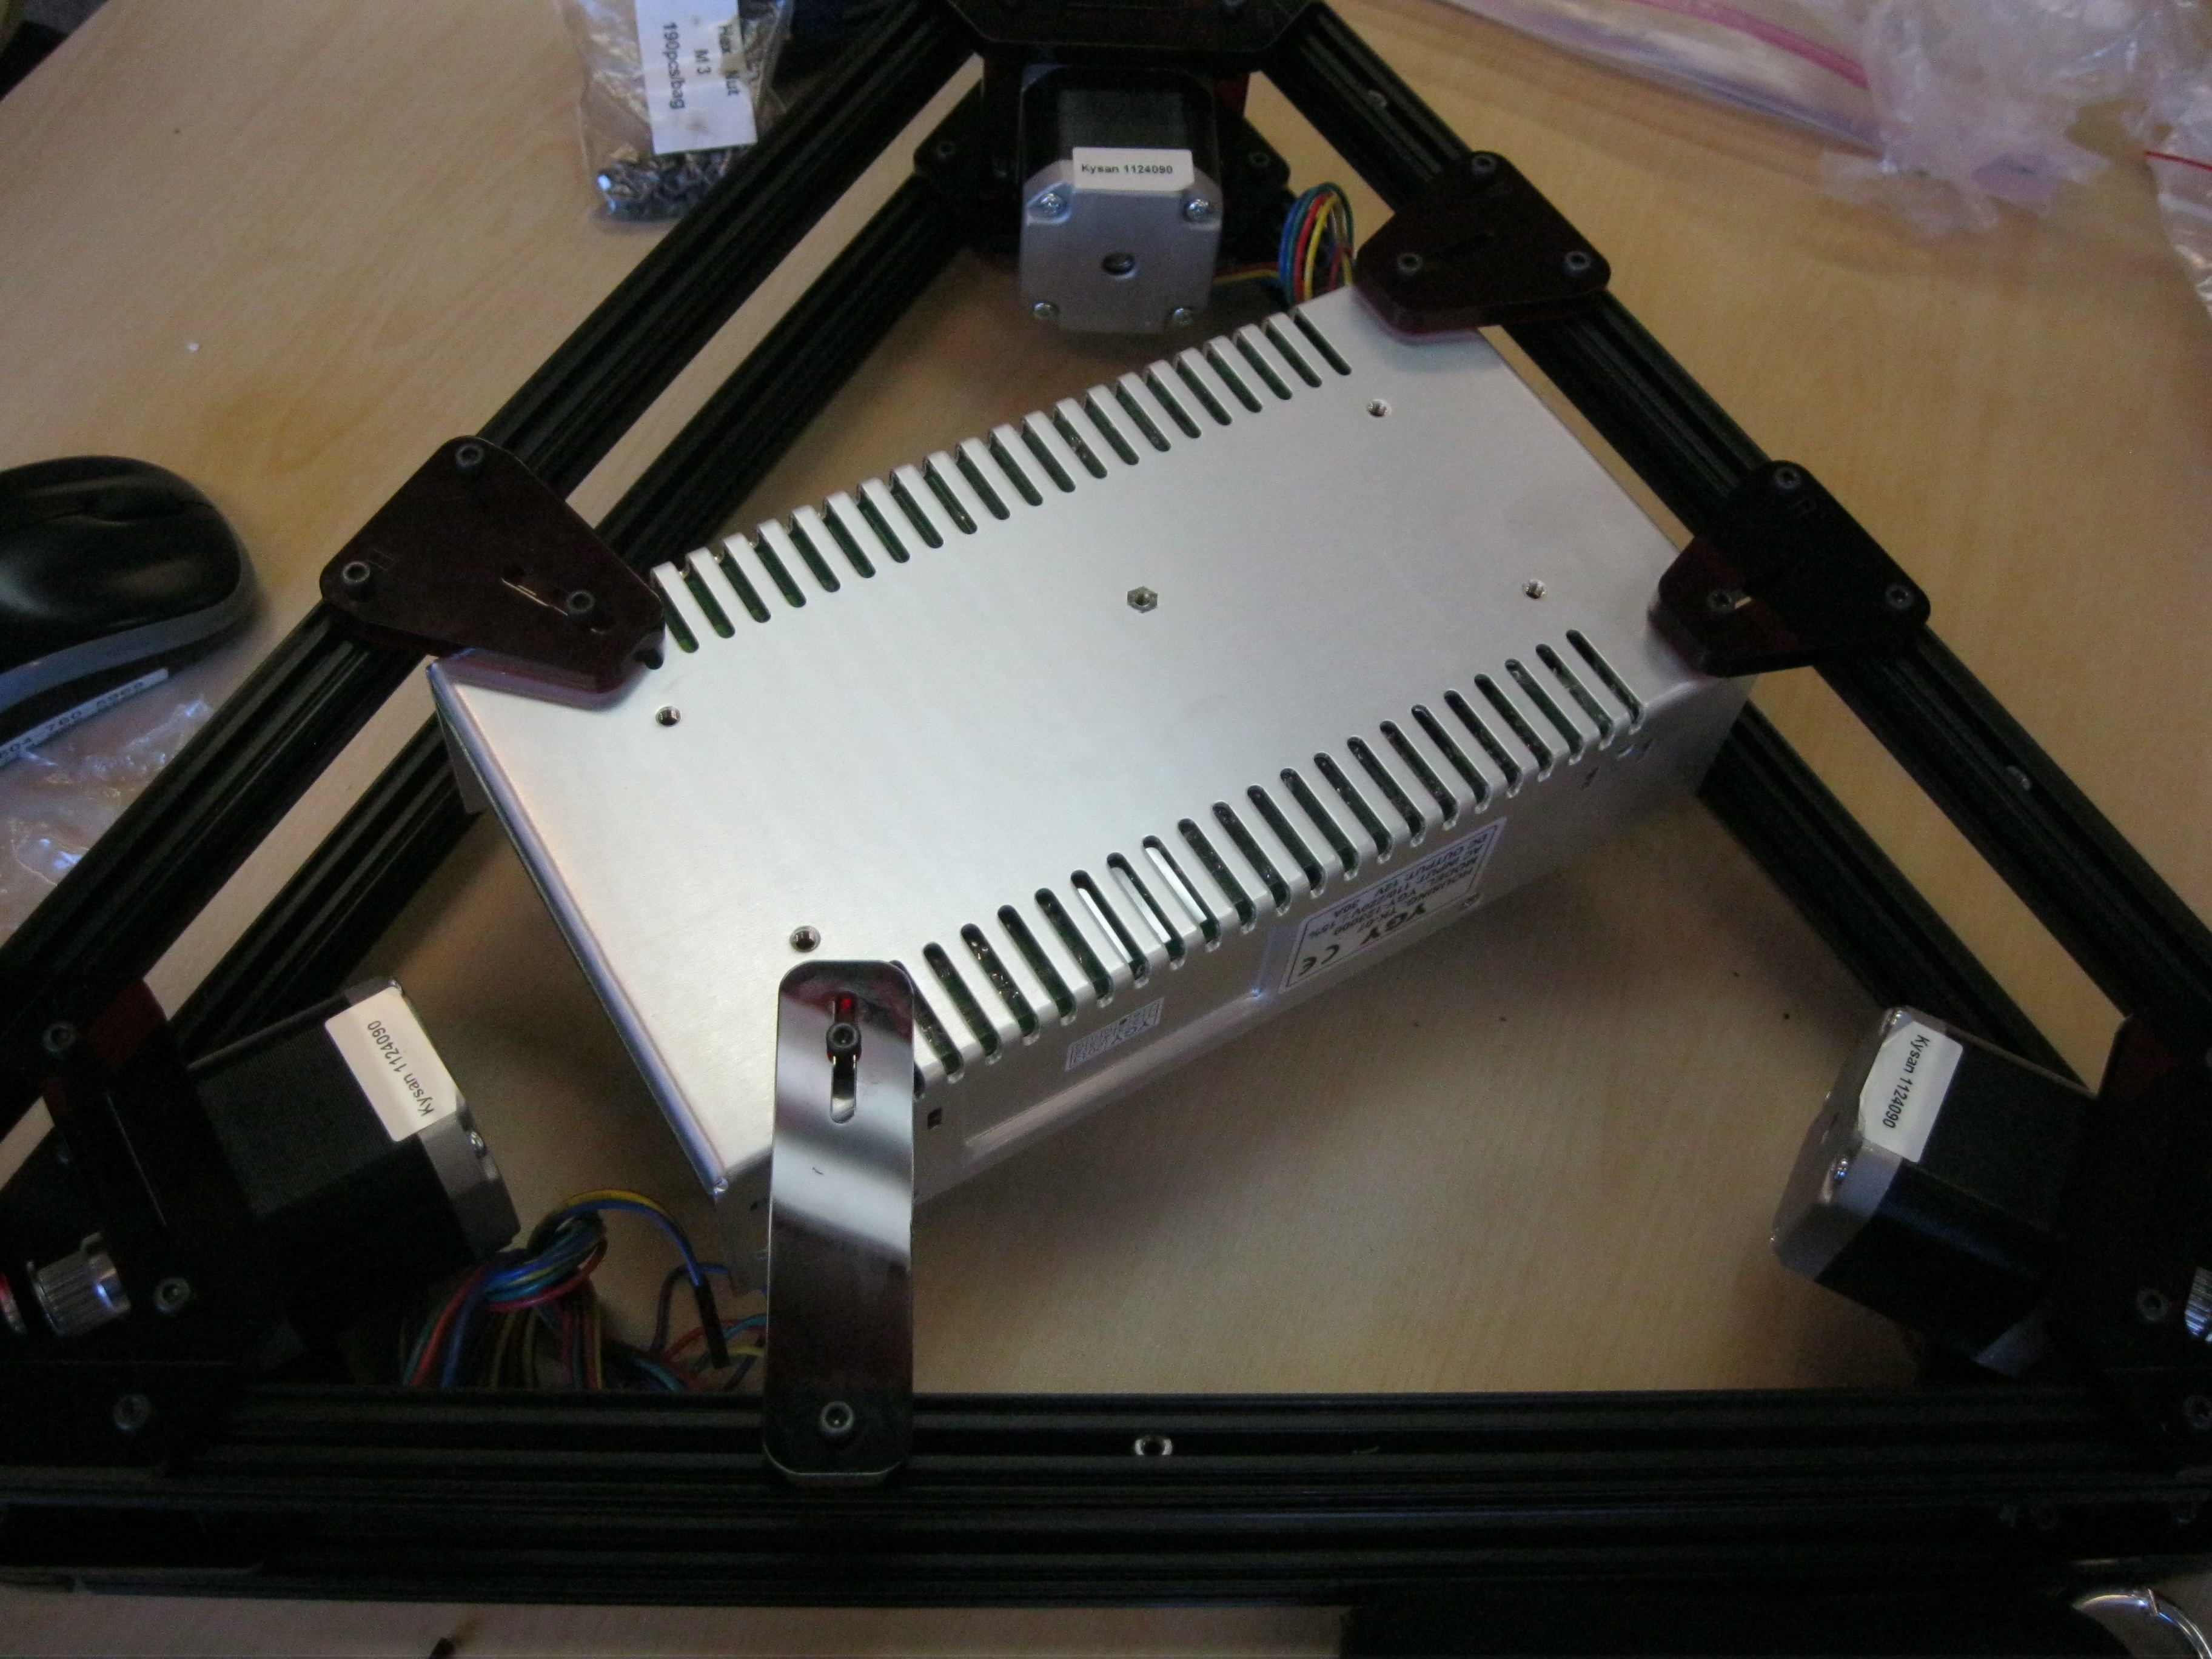
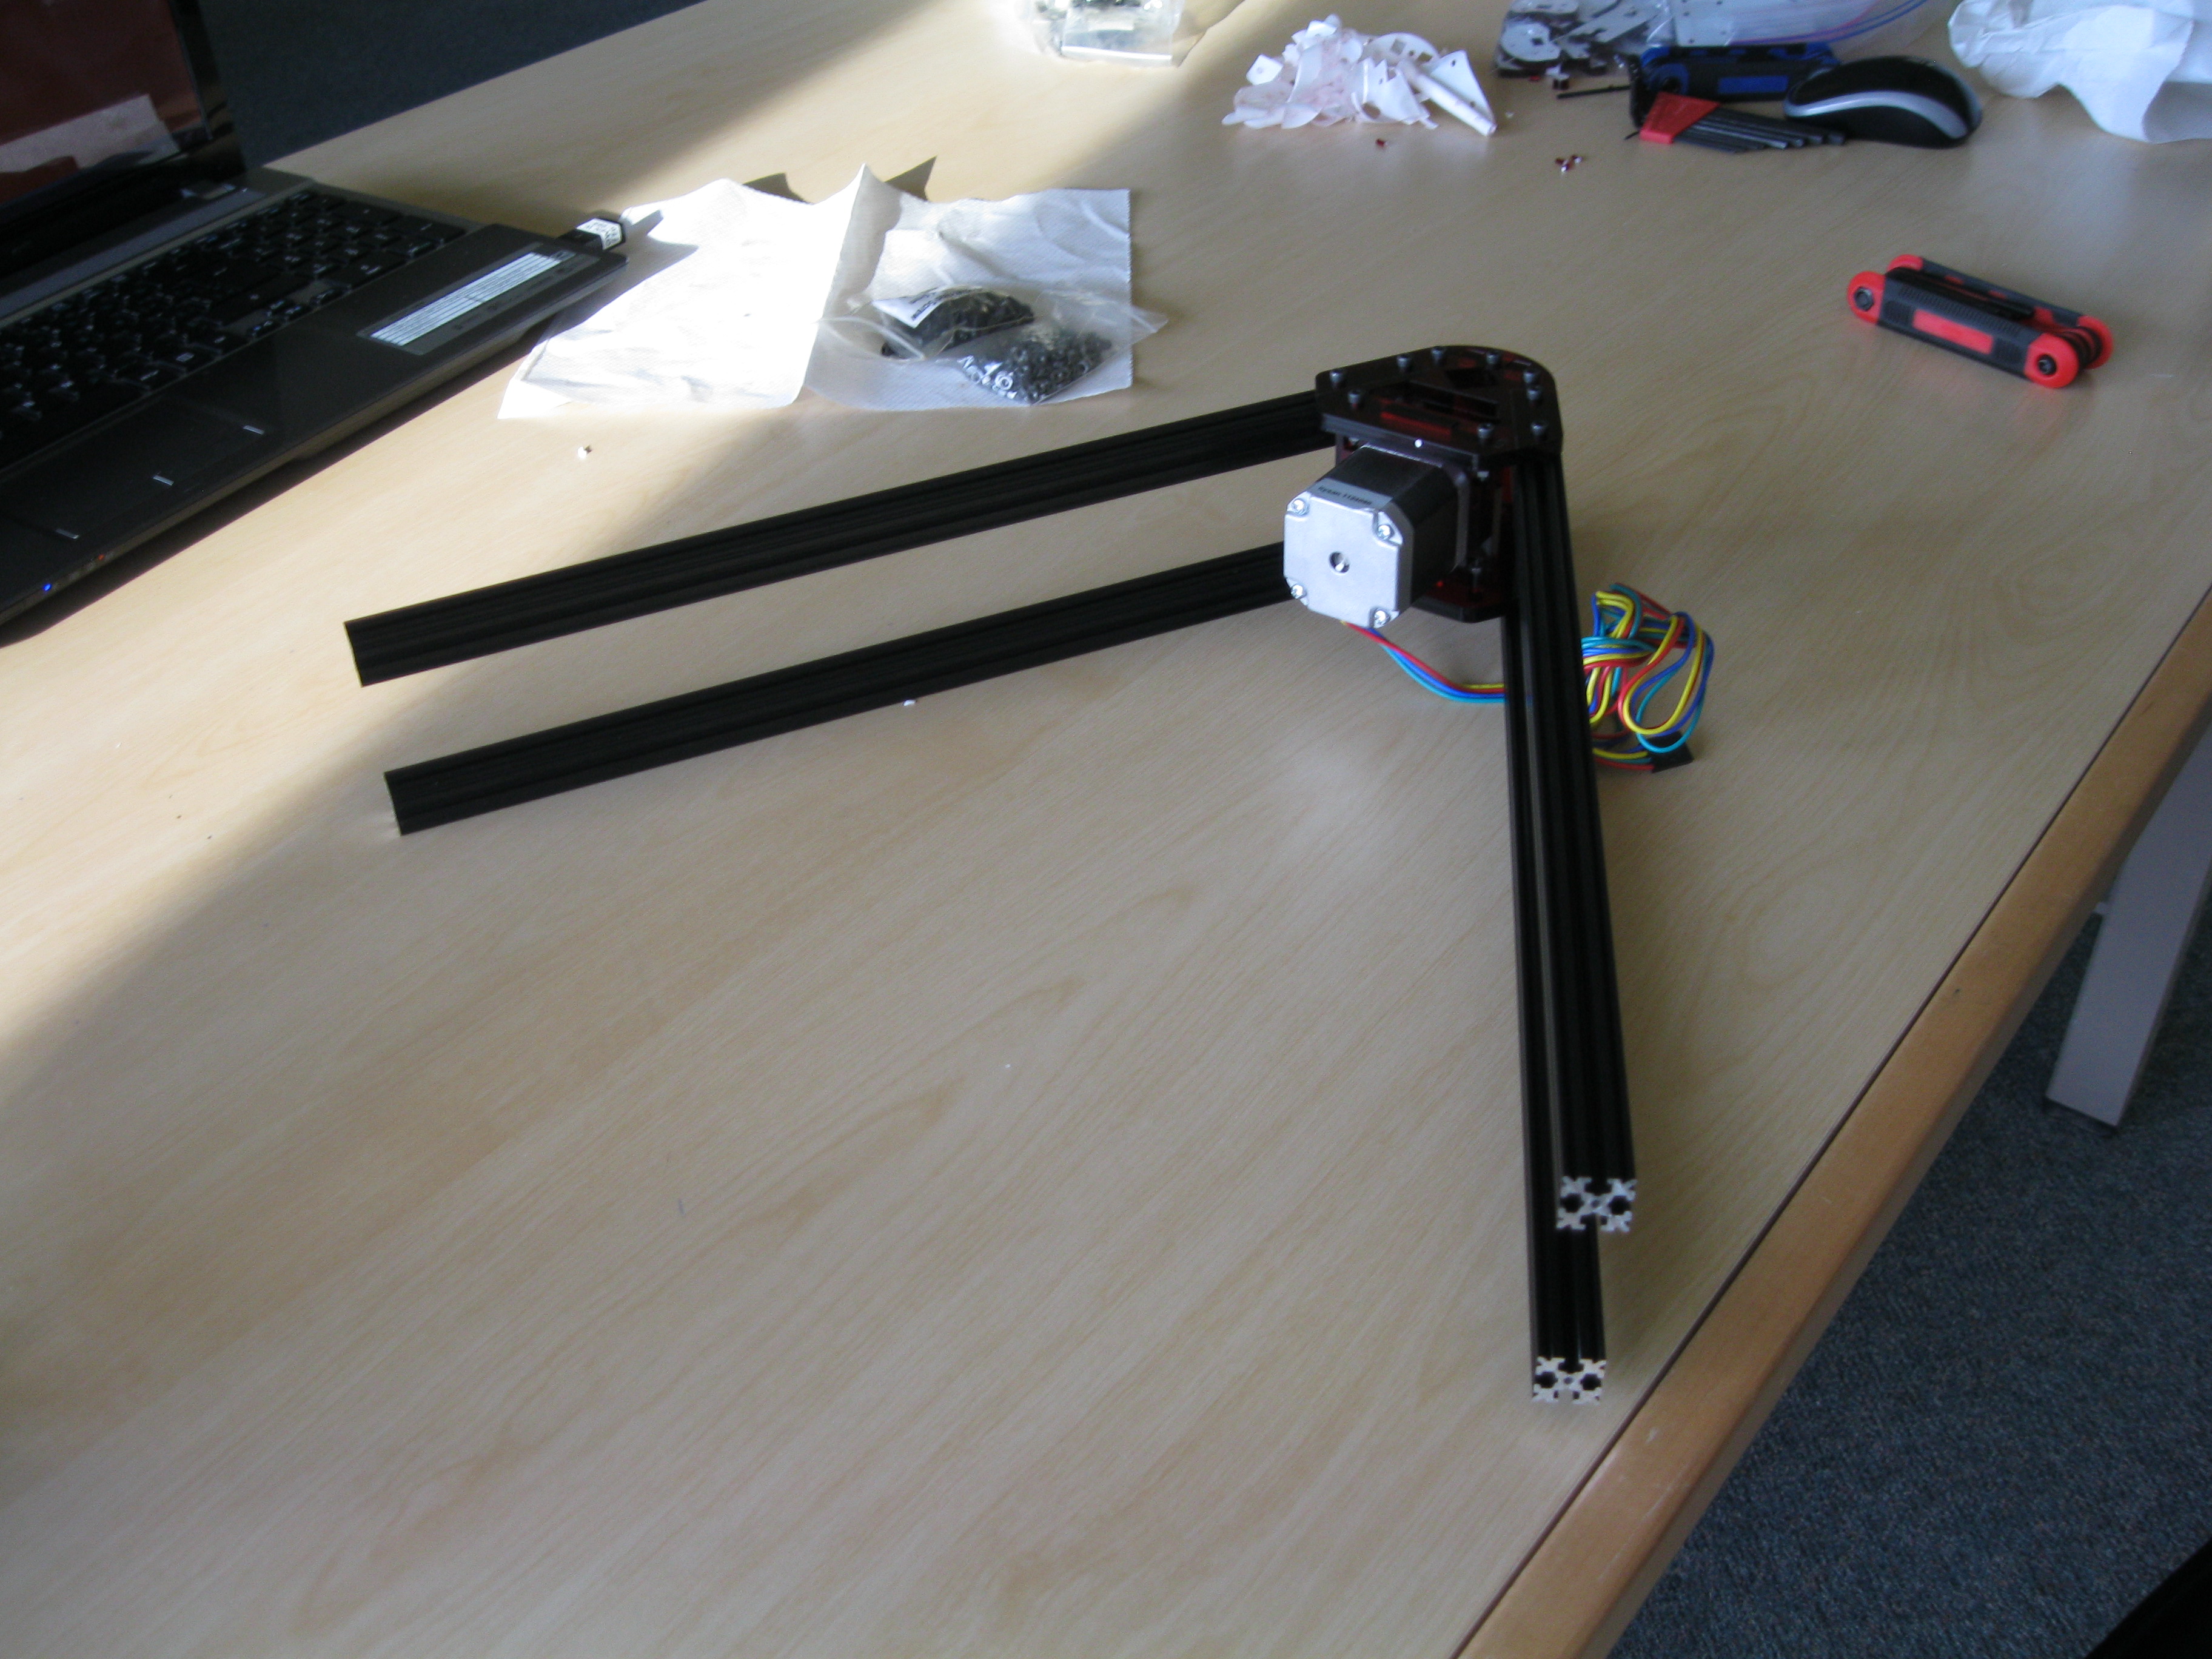
Put the three vertical beam on, mounted the sensor and assembled the top bracket.


Note: Used m3 10mm for ball joints of arm


Accomplished

-Attached the three vertical beams
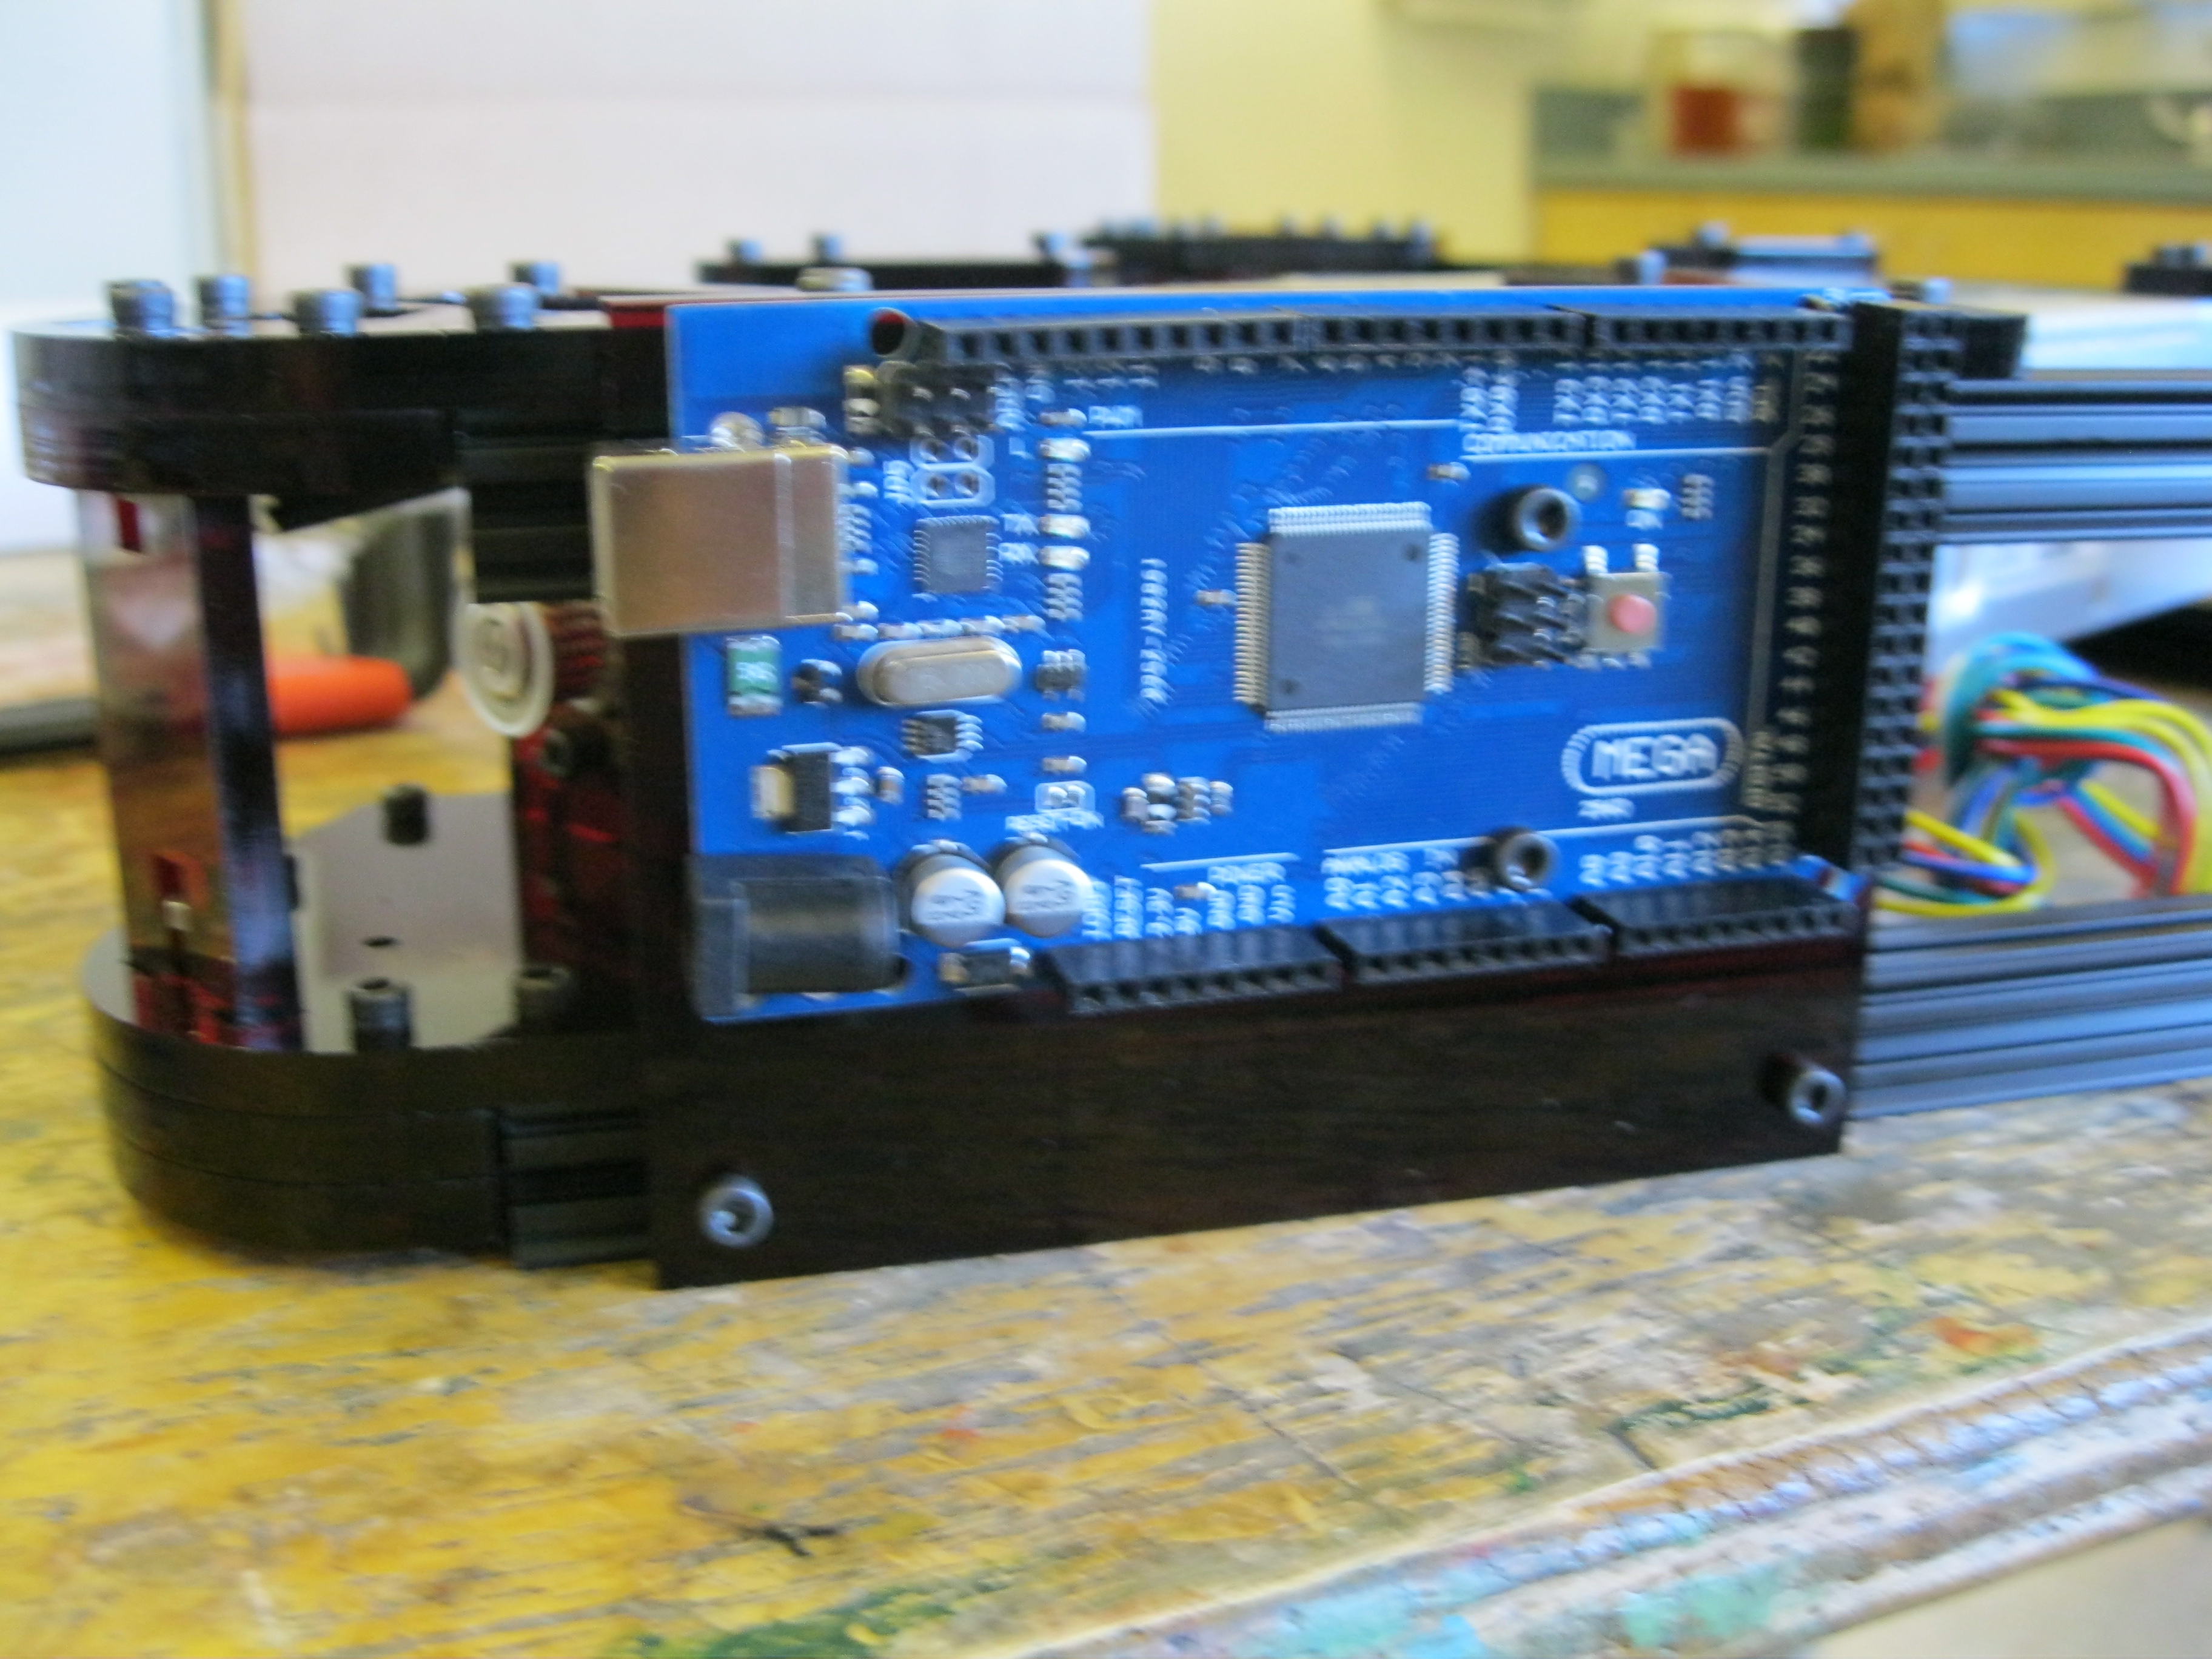
-Mounted the sensor

-Assembled the top bracket


Problems


-The video told us to mount the sensor on one way but the google groups suggested mounting it on the other way so we did.

Build Session 2

Finishing the assembly of the 3rd corner of the base. We also added the motors to the corner base pieces.


Accomplished


-Completed base

IMG_1773


-Mounted power supply unit


Power Supply


-Mounted Arduino

IMG_1780


Problems

-On the last bar of the base it was a bit difficult to line up the nuts. We found that it helped to have two people and have each person do one side at the same time.

Build Session 1

So far we have unboxed the entire printer, have taken pictures and logged all the bags inside the boxes that have been shipped. We have also begun the construction of the printer itself.

Since we have just begun this construction of this printer, we are not sure on how tight the screws should be. If we do happen to over tighten a screw into the acrylic, it would crack the material which would not be good.

Accomplished

– Construction of 2 of the 3 bottom corners2/3 Sides of the Bottom Bracket

Problems

– Unsure of how tight the screws on the pieces should be